If you’re reading this, you’re probably preparing to contribute a piece of video for one of our worship services or some other project we’re creating. Thanks for taking a few minutes to familiarize yourself with these tips to help you produce the best possible shots for our different productions.
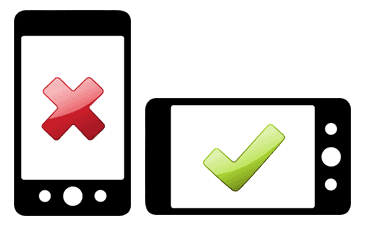
1. Orient your shot as a “landscape” and not as a “portrait.”
A horizontal orientation will allow your video fit full screen into our videos. A vertical orientation leaves blank space on either side of your video when viewed on a tv or monitor.
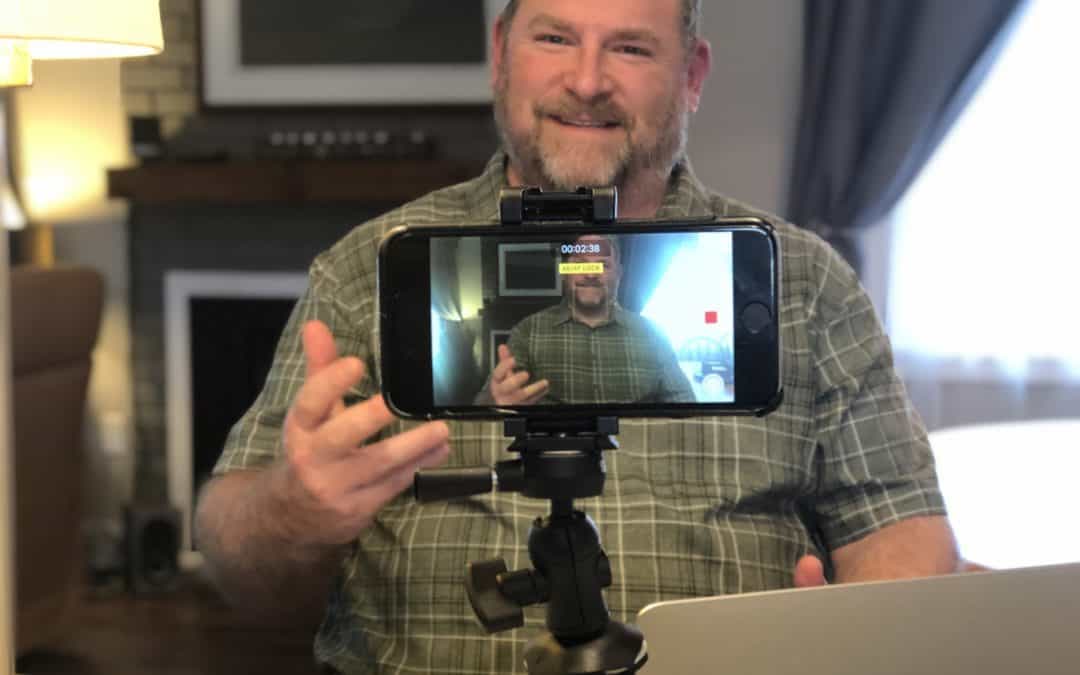
2. Use a tri-pod.
No matter how steady you think your hands are, nothing is as steady as a tri-pod. You can even stabilize your phone on a table, counter, stack of books, etc.
3. Don’t use the phone’s digital zoom.
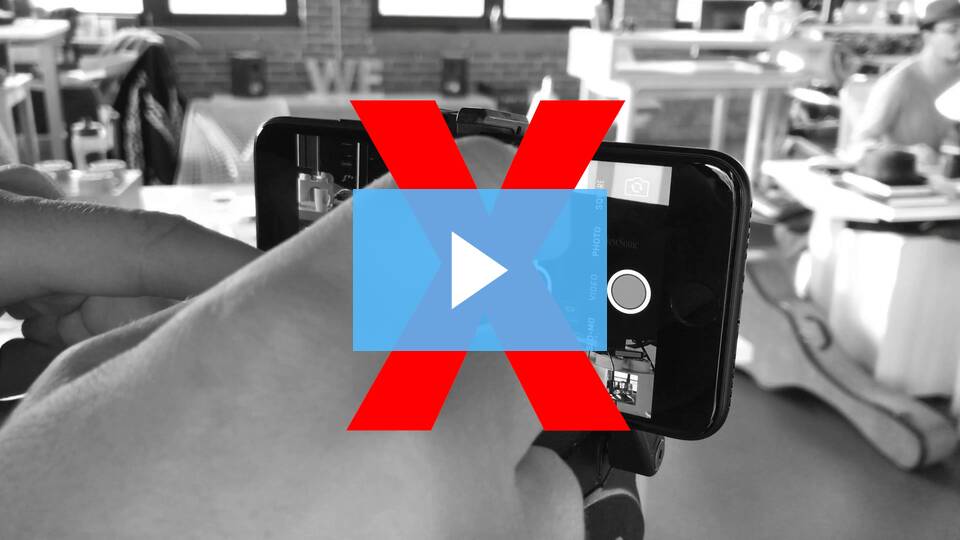
Just move your camera closer to get the best framed shot. Unless you have the latest version of an iPhone, your zoom function will make your video pixilate. We can use our editing software to zoom in closer if need be.
4. Use plenty of light.
Video footage from a phone will look best when you shoot with lots of light. If you’re shooting indoors, adding supplemental lighting will go a long way. Turn on all the lights you can find.
5. Hold up something white.
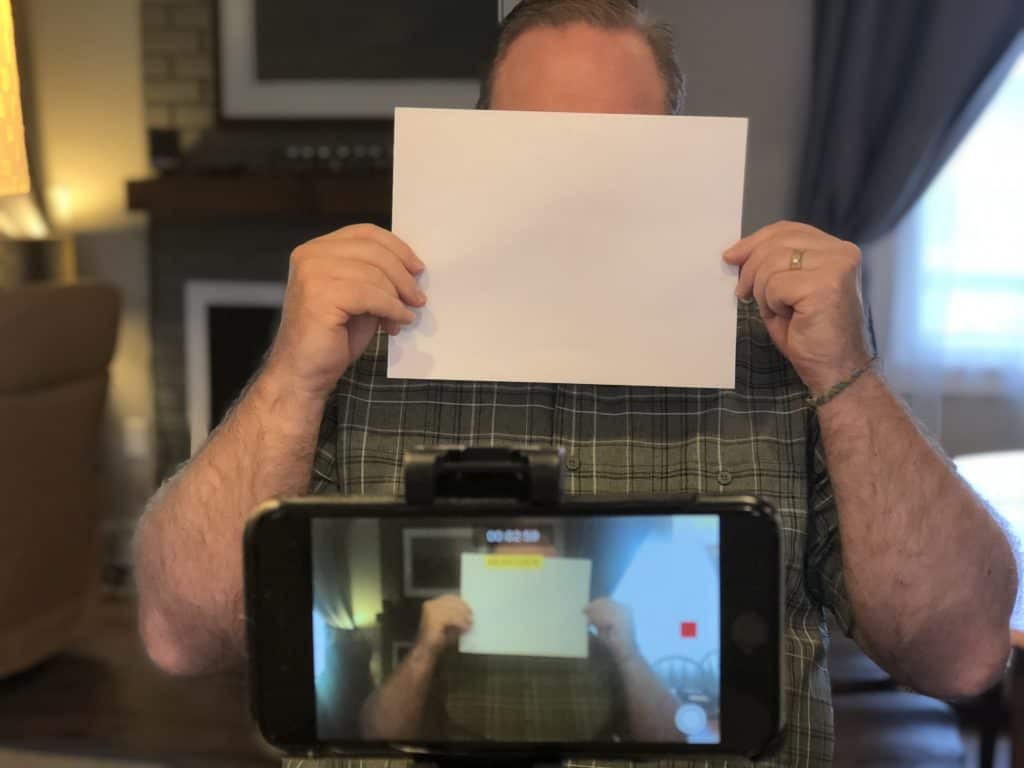
Like a blank piece of paper. Our editors will be able to color balance the various different clips all being assembled from a variety of settings. This will make the combined video look like it was shot with the same camera for a more cohesive story.
6. Leave time before you start talking… and at the end.
This will give our editors room to work for titles, transitions, etc.. After you put away your white piece of paper, don’t start talking immediately after pressing “record” – maybe count to five in your head. And once you’ve finished talking, just let the recording continue – again, count to five in your head.
7. Use Google Drive to share your video files with us.
This does require that you have a Google account (they’re free). Even short video files can be too large to easily send over text or email. Uploading them to a shareable cloud-based location like Google Drive is a great way to preserve the higher resolution of your video. Here’s a video tutorial on how to use Google Drive:
And… these last two tips are not necessary but are very helpful.
8. Use the “Exposure Lock.”

Many phones will automatically focus and expose your shot. This can be a great function for quick photos, but when you’re shooting a video of one person talking to the camera, it can really complicate things. The phone tends to keep adjusting and refocusing, which can lead to jittery-looking footage. That’s why we recommend using the exposure focus lock. This will help to keep the focus and exposure constant throughout your shot.
9. Get your microphone close to the subject.
A general rule for clear audio is to get your microphone as close to your subject as possible. When you’re shooting video with a phone, it’s best to position a second phone, if you have one available, directly above the subject’s head to record clean audio. Creating a simple voice memo will do the trick! Pro Tip: Clap once at the beginning of each take to create a reference point for syncing the good sound from the voice memo with the bad sound from the video recording.
Thanks for reading – have fun making your video!
Some of the content, including the videos, for this post was found here.